I’m moving quite slowly on progress with the house, so this weekend I finally painted little T’s bedroom!

Here is the panorama of this crazy room before its kick ass makeover. Hello again weird door midway up the wall. Glad you decided to make another appearance on the blog.
The post title suggests there is literally no more paneling in my house, but I mean the paneling is painted. Then again that’s not entirely true because I’m not going to paint the closet wall until we take out the weird door and drywall it. When that happens I’ll fill in the cracks in the paneling on just that wall so it doesn’t look super mish moshy. But anyway, PROGRESS. and that is why we are gathered here today.
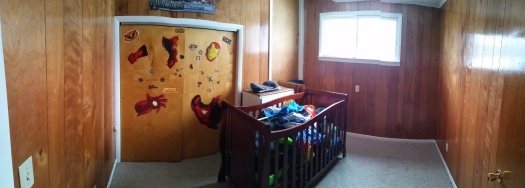
First I filled the crib up with toys, shoved it to the middle of the room, took stuff out of the room, put things in the closet, and decapitated the iron man sticker.
To prep I filled in all the holes with spackle, covered the stuff left in the room with a plastic drop cloth, and took off all the outlet covers. I then went through and sanded all the walls with 220 grit sandpaper. I was going to use my new electric sander, but I figured that would be a bit excessive for just needing to scuff the walls up a bit.
Please please do not skip the sanding step. When Chris and I painted our bedroom paneling we didn’t sand and it was a big mistake. If we nick the walls the paint scrapes right off and you can see the paneling. At the very least rough the surface up a bit even if you don’t sand the crap out of it.
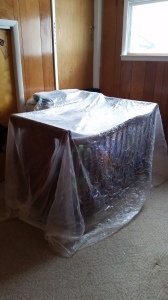
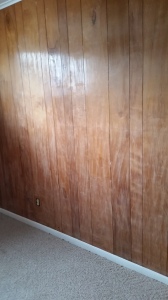
Before I started painting I wiped all the sanding dust off the walls along with any cobwebs in the corners. I also vacuumed the carpet and along the trim to make sure no dust would get into my paint.
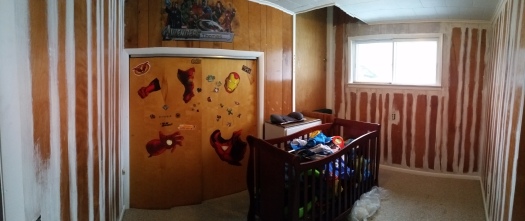
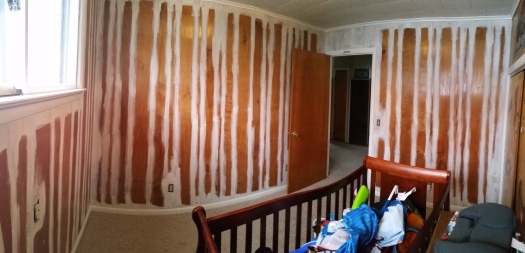
When I was cutting in I got all of the cracks because a roller doesn’t do a very good job of that. At this point I also filled in any more holes that I didn’t notice the first time around.
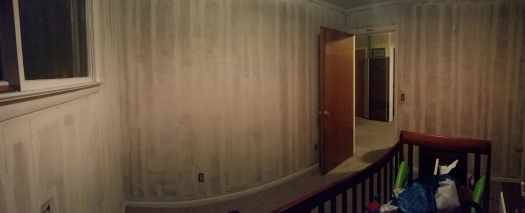
After priming I saw areas where either the paneling color was showing through or it was discoloration from nicotine. In the end I decided to do one coat since that is what we did in the bedroom, and that paneling was even darker.
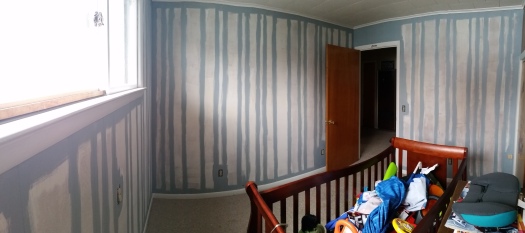
Even when I cut in with the paint I filled in all the cracks. When I started brushing on the paint I remembered how much I love this color. It’s called winter sky gray. It seems rather blue to me though which was a surprise when we first painted our bedroom. I guess it makes sense though since skys are usually blue to some extent.
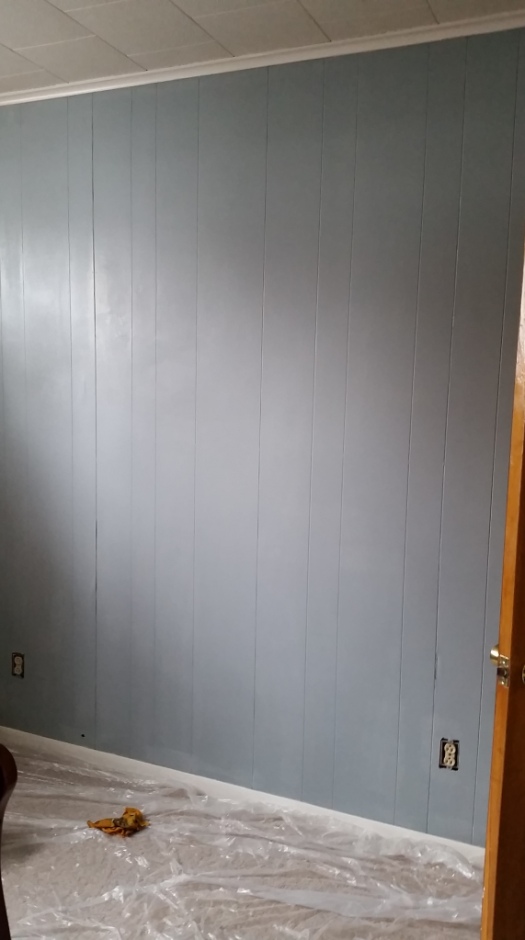
Slightly above the electrical outlet near the door you will notice some flaws in the gaps. These parts were pulling away from the wall which obviously wouldn’t look good when painted. Chris’s genius solution was to staple gun them down, and it actually worked like a gem.
I love this picture because even though I haven’t repainted the trim you can see the crisp difference between the bluish gray wall and the white trim. Just beautiful. (excuse the splotches, the wall wasn’t done drying yet).
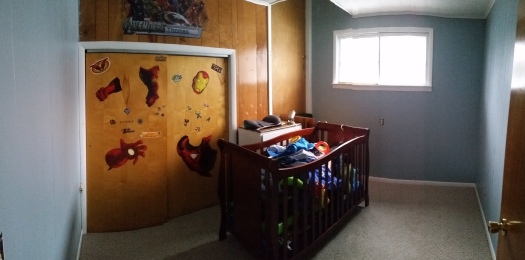
Final product with the “accent wall”. still hadn’t put the room back together yet. I love how much the painted room draws attention to the window. It’s a reminder of how much brighter the room is.
Also notice how high the top of the door goes, and that the area up there is painted. I was using a chair to paint, but couldn’t reach high enough so I asked Chris if he could reach. He just decided to open up the door and stand on the stairs landing. It’s a good thing we’re close friends with the upstairs neighbors and we keep that door unlocked. (it is set up though so both sides can be locked and not one unit has control over the door). Either way it needs to go. Sayonara door!!
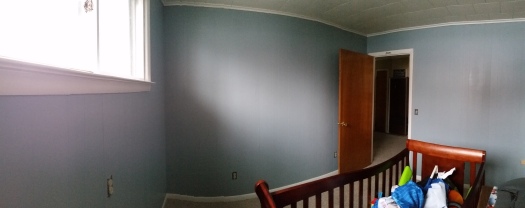
Another view and a way for me to imagine that there is absolutely no more paneling. 😀 I’m in love.
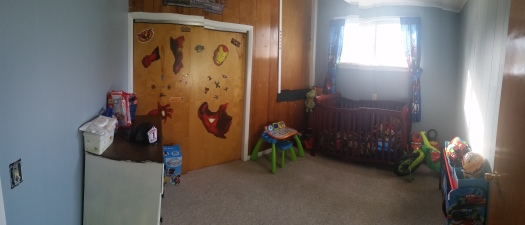

And of course some views of the room put back together/rearranged (minus the still decapitated Iron Man)
Before painting my paneling I also got some really useful information in this blog post about what to use on different types of paneling, and some tools that make it a lot easier.
Chris and I worked on this project for about a day and a half. My body was definitely sore from constantly kneeling, standing, and getting up on a chair. Maybe I’m just weak but that stuff is taxing!
I’m glad to have this project done as it’s really going to propel me into finishing my other projects and working on my time management.
What are your motivating factors?
If you want to see how I finished the white dresser, check out this post.
See You Around!
Lauren <3

Your writing always makes me laugh out loud! I love your sense of humor! And that room? WOW! What an awesome transformation! We drywalled over our paneling. I will have to try your way the next house we buy a house that has paneling.
Thank you! You can definitely still see the lines, but for a rental it’s a great solution. We’ll have to see how well it goes filling in the cracks on the last wall. I call it putting lipstick on a pig which is a real estate saying, but it doesn’t pertain to paint so much.
Lol. I utter that saying ALL the time!!
Your room is soooo improved. As to what motivates me: beauty. I want me some. Jo @ Let’s Face the Music
Thanks Jo! Your house definitely has lots of beauty 🙂