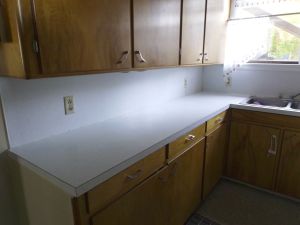
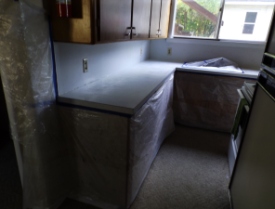
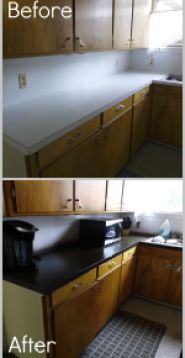
The latest home project I tackled is updating my counter tops. As you can see my counters are a very common retro white with gold specks. The edges are very worn, and have stains and cut marks where someone (myself included) used the counter as a cutting board. For this specific project I decided to go with the ask for forgiveness instead of permission approach. I assumed my landlord would gasp at the concept of spray painted counters. I’ll admit it made me a little nervous at first too.
Spray painting counters is a cheap and great alternative to replacing them altogether. To begin, I cleaned the counters, let them dry, sanded them, wiped them down again, and let them dry while I was taping everything off. The supplies I used were:
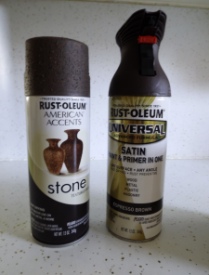
- Rust-Oleum Universal Satin Spray Paint in Espresso Brown
- Rustoleum American Accents Stone Spray in Mineral Brown
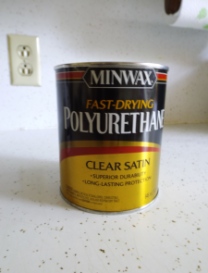
- Minwax Fast-Drying Polyurethane in Satin
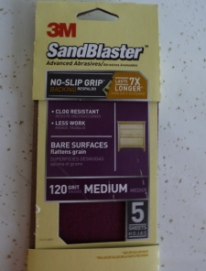
- Sandpaper
- Paint Brush
- Painter’s tape
- Drop Cloth, Cardboard, Newspaper etc.
I had everything on hand already except the paint and the poly. I purchased two cans each of the paint and a 1qt can of poly. In the end I used 1 can of the primer/base coat and about 1 and a half cans of the textured paint.
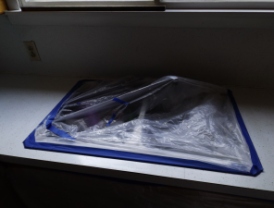
After prepping the surface tape everything off that you don’t want to get paint on. I didn’t tape off my “backsplash” because I am eventually going to redo that as well. To tape the sink off I put painters tape along the edges of the stainless steel. Only get tape on your sink and not the counter (it’s kind of tricky) otherwise when you pull it off you will see the counter show through. I was told after the fact that you can lift the sink up a smidge without having to undo all the plumbing. That would’ve been nice to know! After I taped the edges I laid a piece of the plastic drop cloth over top. To tape it down I pulled the edges tight and then put tape on it so no paint would get in.
When spray painting indoors make sure you have plenty of ventilation and take breaks often if the fumes start to get to you. If you cannot get proper air flow do not spray paint inside. I worked in small sections and went near a window during my breaks for some fresh air. Also, if you have any gas appliances nearby shut them off before you begin this project!!!
Now to the fun part! Begin by spraying a thin-ish layer of the primer/base coat. Let this dry again and put another thicker coat on to make the color even. Make sure to avoid puddles or drip marks on the counter. Once this is completely dry you can add the textured spray. Make sure to shake this often or the textured particles will settle at the bottom and the finish won’t be even. I did a few coats and some touch ups to achieve an even texture. As it’s drying it will look a little splotchy, so let it dry completely before deciding to do another coat.
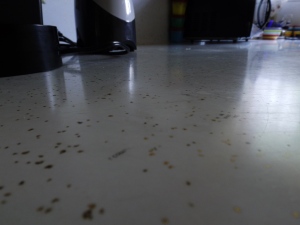
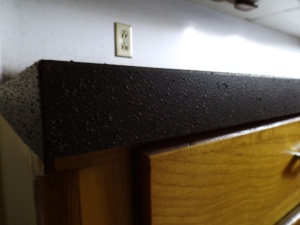
This is what the counters looked like before adding polyurethane, and an up close of the texture. I almost liked the way my cabinets looked for a hot minute after doing this update, but that minute soon passed and I once again envisioned white cabinets.
After letting the paint completely dry add the first layer of polyurethane. Let this dry for 3-4 hours and add another coat. I did 2 coats and I could still slightly feel the texture of the paint, which I liked. The directions said to sand in between coats to ensure an even finish, but I skipped that and it looks great. After the final coat of poly let sit for 24 hours before using the counters.
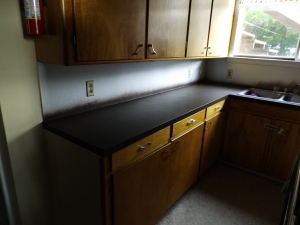
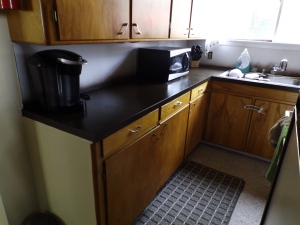
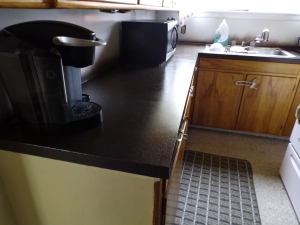
Here is the finished product!
I absolutely love how the counters turned out and I cannot wait to add the backsplash and paint the cabinets. I was going to do paintable beadboard wallpaper, but my boyfriend’s dad might have some leftover tile that we could have fo FREE that would look nice in our kitchen. Comment below if you have any questions, want to let me know what you think, or just want to say hi!
UPDATE: I went back and added a 3rd coat of poly because it was discoloring when wet. The color went back to normal once the wet spot dried but I was concerned that it would ruin the longevity of the finish.
UPDATE: Check out this post for an update on how my counters are holding up! (2/19/17)
See You Around!
Lauren <3

Amazing job, Lauren!
<3
Emory
helloscarlettblog.com
You’re so brave for tackling such a big project in a rental! I have dreams of a similar kitchen update in my house, so I’ll be interested to see how painting your cabinets turns out!
ohcrapiboughtahouse.wordpress.com
This looks great!!! It’s something I might consider for my counter tops.