DIY Staircase Update

About a month ago I texted my landlord about ripping up the carpet on the entry stairs and replacing it with some vinyl. It took her about a week to respond, so I figured the answer would be no as it usually is.

Quite the contrary, she texted back and said sure! That surprised me. Having permission to sporadically change things in the house is very exciting.

I started ripping the carpet up within half an hour of getting her text.

DIY Staircase Update

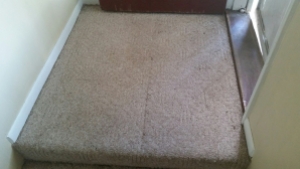
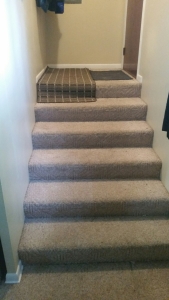
Here’s what we started with. The big rug is usually in the kitchen, but it’s been up there a while because spring tracks a lot of mud in, and it’s annoying having to vacuum the landing all the time.

DIY Staircase Update

We also track in a lot of pine needles which hurt like a SOB to step on when they’re stuck in the carpet.

Since I had permission from the landlord and was raring to go, I didn’t bother telling Chris before I started destroying the carpet. I was so sick of it and wasn’t going to wait any longer.

DIY Staircase Update

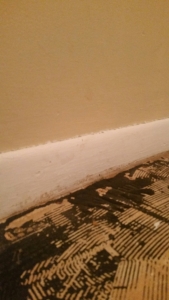
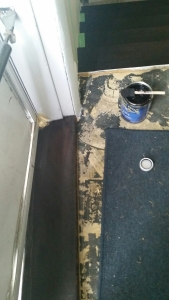
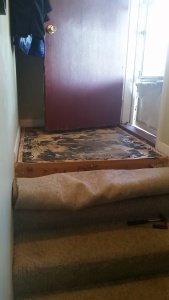
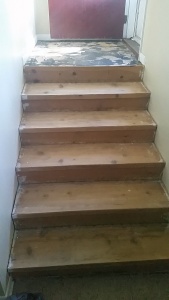
The first thing I found was the landing is made of plywood and covered in that black stuff. I think the black stuff is some sort of non-slip sand adhesive. Then I kept pulling up the carpet and got this piece of joy.

DIY Staircase Update

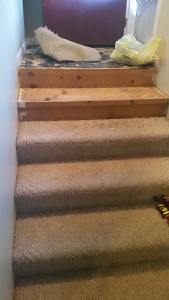
Nice pine steps and risers! Yay.

After ripping the carpet and padding off I pulled out all the tack strips and staples from the stairs. I didn’t pull all the staples from the landing because I’m going to cover it with vinyl, and the stairs will be painted and stained with General Finishes Java Gel. Instead, I pulled all the padding out of the staples and hammered them down.

One issue that I ran into with the tack strips is that I don’t own a crowbar. Instead, I just used a hammer and flathead screwdriver. Just wedge the screwdriver under the strip where the nail is and use the hammer to wiggle it under further. Then use the leverage and pull up on the strip (by pushing down on the screwdriver). It’s kind of a pain in the butt on some of them, but it works.

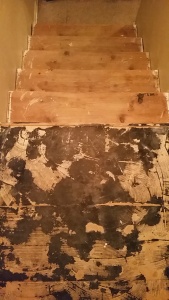
After getting all the staples off the steps they were ready to be sanded in preparation for stain. The picture below is before sanding.

DIY Staircase Update

I took my Ridgid random orbital sander to the steps with an 80 grit sanding pad. Since I have an orbital sander (which is round) I couldn’t get all the way to the edges of the stairs very well which left some paint. I went back by hand to try to get as much off as I could, but it wasn’t very efficient.

The picture below is after sanding. It’s a little hard to compare because of the opposite angles, but they’re a lot cleaner with fewer paint splatters.

DIY Staircase Update

Next, I cleaned the steps off with a shop towel and some mineral spirits. Then I applied mineral spirits to each step right before I stained. General finishes recommends this to help the stain go on smoothly.

Make sure to apply stain to every other step so that the stairs are still usable while the stain dries (6-8 hours).
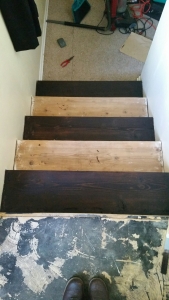
DIY Staircase Update
And then here’s a picture of them all stained.
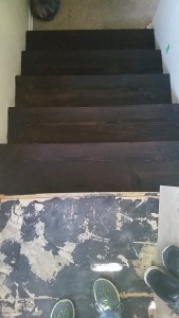
DIY Staircase Update

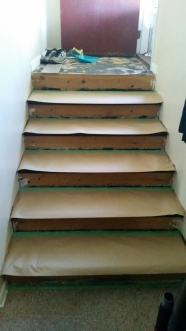
After the stain dried, I taped the stairs off to paint the risers.
DIY Staircase Update
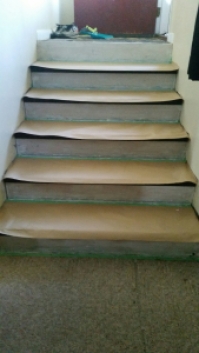
I also used paper so I wouldn’t get paint on the steps. As you can see in the picture, I didn’t tape off the risers when I stained. I figured it would be easy to paint over. It seemed that it actually was easier to cover the paint with gel stain than the other way around.

Before priming I sanded the risers by hand with 80 grit sandpaper.
DIY Staircase Update
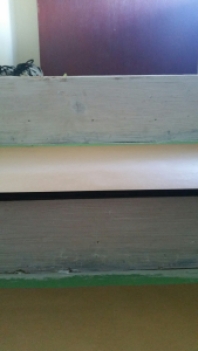
After the first coat of primer I went back and filled in the holes with spackle. Then I sanded lightly and did another coat. I like to wait until I prime to fill in the holes because it makes them a lot more visible.
DIY Staircase Update
After two coats of primer I applied two coats of paint.

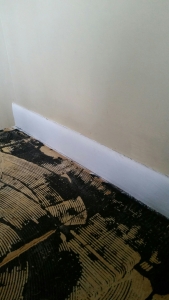
I also sanded and repainted the trim by the landing to make sure it looks crisp before installing the vinyl
 imageDIY Staircase Update

I’ve repainted this trim probably twice already, but it gets dingy pretty quickly and the new floor will be lower than the carpet.

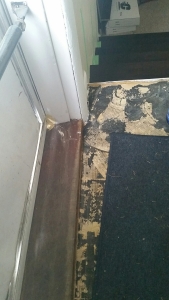
Before putting in the new vinyl I also wanted to stain the threshold of the front door to match the steps.
DIY Staircase Update DIY Staircase Update

Since the stairs are going to be a different color than the vinyl on the landing, I wanted to make sure the entry looks as cohesive as possible.

And of course, since stairs are high traffic I added a coat of General Finishes Gel Topcoat.

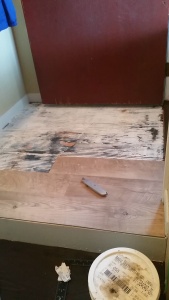
And after several days of putting it off, we finally got around to laying the vinyl on the landing! It’s really easy to do, and I was going to attempt doing it myself. Chris wanted me to wait until he would be around to help me though, which honestly was a good idea. Laying the floor and cutting the boards isn’t too bad when it’s just straight cuts, but having to work around the trim pieces was really frustrating for me. I explain in this post how we laid the floor in our bathroom, and what exactly we used if you’re interested 😀
DIY Staircase Update

Chris did up until this point on the landing, and I got to do the rest until the trim on the other side of the door. I didn’t get to do much cutting when we did the bathroom floor, so I’m glad I got to try it out.
DIY Staircase Update DIY Staircase Update

DIY Staircase Update DIY Staircase Update

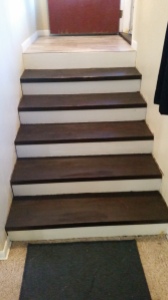
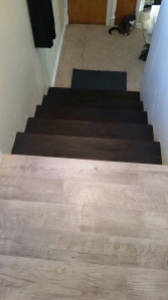
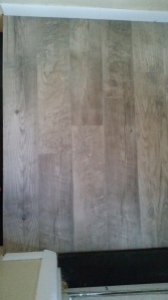
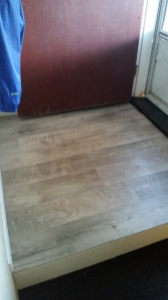
I am so obsessed with how this project turned out. The entry is so much brighter and spacious now that the carpet is gone. And it’s going to  be way easier to keep it clean. No more lugging the vacuum all the way up the steps!
DIY Staircase Update DIY Staircase Update

If you like this post let me know, and feel free to pass it along!

See You Around!

Lauren <3


Punch List for A Rent Ready Home

I contacted my landlord with questions about the house which means I am one step closer to buying it. With all of the questions I asked her I should be able to run the numbers, make an offer, and work out a deal. Considering I can’t know how much longer we have until it’s time to get renters I compiled a punch list of things left to do.

In order to have the lower unit rent ready, these are the things that I must have completed

  • Remove the door in T’s bedroom
  • Paint the last wall in T’s bedroom
  • Paint the trim in T’s bedroom

Punch List for A Rent Ready Home

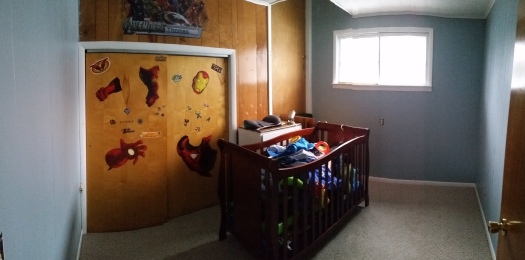
These first three tasks are the leftovers from when I painted the paneling in this room and the fact that the trim is in desperate need of a fresh coat

  • Touch up paint around the house
  • Finish Painting Inside Cabinets
  • Paint Outside Cabinets
  • Seal the grout on the new backsplash

Punch List for A Rent Ready Home

  • Check that the heater is clean and running smoothly
  • Check the smoke detector
  • Fix the run in the carpet
  • Install a fan in the bathroom
  • Fix the overhead light in the bathroom
  • Clean everything

On the other hand, there are also things I would like to have done before we get tenants. Time and money permitting

  • Replace carpet with new carpet in bedrooms/living room
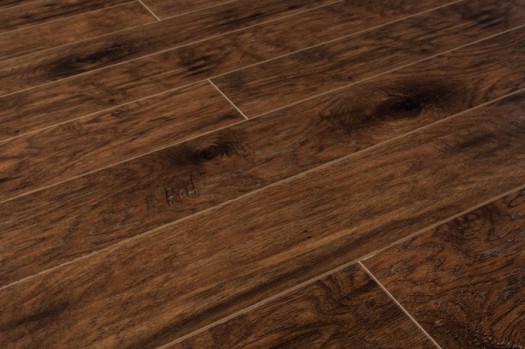
  • Replace carpet with laminate in kitchen/dining area

american-quarter-horse-angle_1000

I’m thinking of going with a laminate similar to this (maybe even this one), and a beige brown carpet

  • Stain stair treads, paint the risers.

These last three wants all have to do with flooring. The only spot in our unit that doesn’t have carpet is the bathroom. Even in the places that it makes sense to have carpet, the carpet isn’t so great even after a good cleaning. Mostly the idea with replacing the flooring is we would likely get a better deal if we bought the same flooring for upstairs and downstairs all at once. One of the first things I would like to do once (if) we get the house is replace all the flooring upstairs even before moving in.

I’m planning on knocking out some of the items on the must-do list over my spring break (in one week). It’s probably a good thing that we just got bombarded with snow here in Michigan, otherwise I might be tempted to do some yard work.

What’s on your punch list?

See You Around!

Lauren <3


Winter Projects

Seeing as it is already winter and I have a break and new semester coming up I figure I should create a list of winter projects to accomplish before spring. I also think hope I’m going to have a lot of exterior work to do when the weather gets nice, and I don’t want to be stuck inside.

First things first: kitchen backsplash. The walls are prepped and the hole is filled. I’m going home and should be starting the tile tonight! As a refresher here is what the layout will look like except not so tall.

Winter Projects

I would also like to replace the carpet in the kitchen with the same plank vinyl we used in the bathroom. The catch with this is we are going to tell our landlords we’ll only do it if we can paint the cabinets white, which I also want to complete before spring. The only way it would backfire is if they say no to both. Honestly I wouldn’t be surprised by that at this point. Just imagine this floor:

Winter Projects

In this kitchen:

Winter Projects

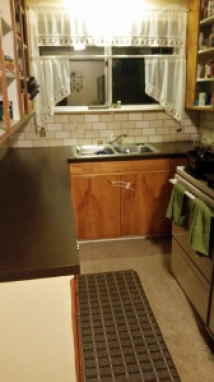
Also imagine the new spray painted countertops, ceramic backsplash, and white cabinets. I know, it’s a stretch.

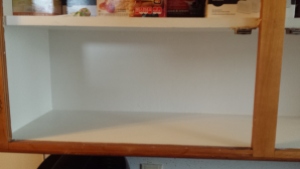
I am currently in the process of scraping the peeling paint out of the old cabinets and repainting the insides. This takes forever but I’m at least hoping to have the upper cabinets done by spring. Here is a crisply painted cabinet innard for your viewing pleasure:

Winter Projects

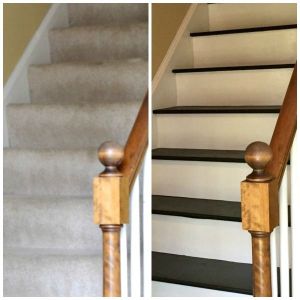
Another project I’ve had on my mind is ripping the carpet off the entry way landing and replacing it with vinyl. If the stairs have good wood underneath I might stain them instead. Think something like this:

Winter Projects
Source: To Simply Inspire

There is a huge run in our carpet outside of the bathroom and I would like to get the carpet stretched so that problem is fixed. Chris’s dad installs flooring and I think we could convince him to fix it for us. You can see the run in the picture below. I think it’s worse now than it was then. (This is from when I cleaned my carpet)

Winter Projects

Maybe this one is adding too many to the pile but I would love to build shelves the whole height of our small entry closet. Currently it has one shelf and that’s really not doing us any good. At the least I want to add in a couple more shelves. This is the hot mess I’m dealing with currently:

Winter Projects

I had Chris send me that picture so sorry for the quality and also sorry for the fall wreath that’s still hanging out. whoops… I should probably take that down.

Honestly the amount of major projects left in the apartment is becoming minimal. Chris and I are getting a little more serious about looking at buying the place,  especially since I will be living there full time starting in May. Our expenses will be smaller and we’ll have extra money to invest. So far it seems like a good idea but we need to look into the details.

I can just imagine the hilarity of showing you the before pictures of the upstairs. It’s a million times worse than what we started with in our unit. Although I think I might like the layout better.

What are your plans for the winter?

See You Around!

Lauren <3

DIY Carpet Cleaning – From Drab to Shag {A Tale of the Dirtiest of Carpets}

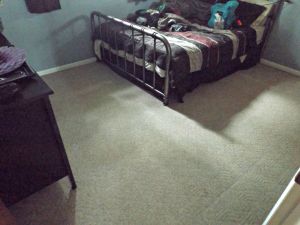
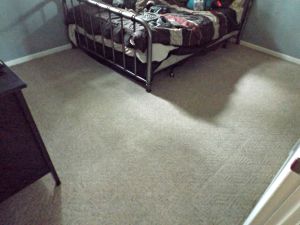
Can I use shag to describe my newly cleaned carpets even though I do not in fact have shag carpet? I think so. Moving on. Cleaning my carpets is something I put on my to-do list for this month and in reality it has been on my wish list for a LONG time. I put it on an official to-do list because I’ve waited long enough and school is starting very soon. I don’t own a carpet cleaner so I had to borrow one from a family member. This is one of the reasons I had to wait so long.

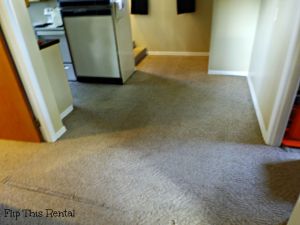
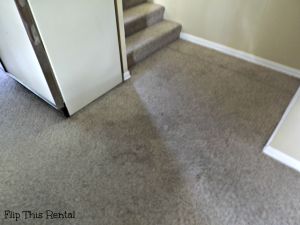
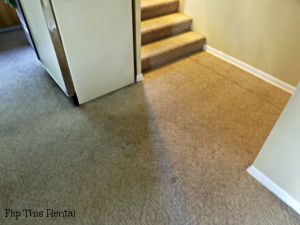
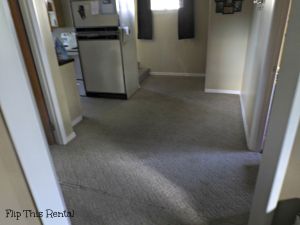
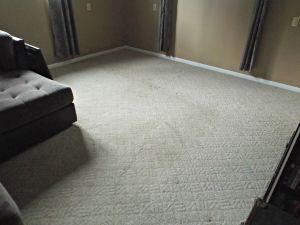
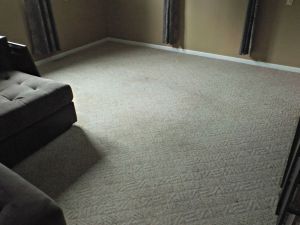
I cleaned my carpets on a few different days. The first day I did my entryway/stairs, kitchen, dining room, and bathroom. The second day I did the second bedroom, and the last day I did the living room and master bedroom. These days totally were not consecutive. Whoops.

DIY Carpet Cleaning | From Drab to Shag {A Tale of the Dirtiest of Carpets} | Flip This Rental DIY Carpet Cleaning | From Drab to Shag {A Tale of the Dirtiest of Carpets} | Flip This Rental

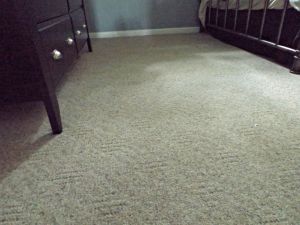
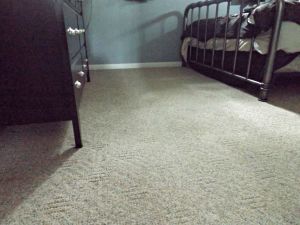
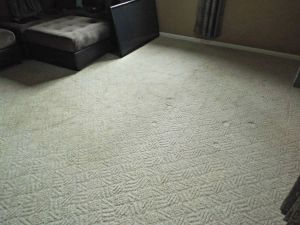
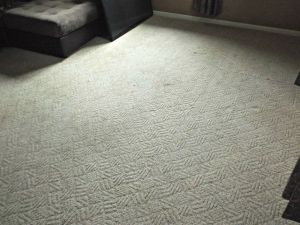
Even though the lighting is different in these photos you can still see how much smaller and less noticeable the stain is. This was probably the dirtiest area in our whole house. Below is a view of the dining room from the living room. I might do this area again in the future because the nastiness isn’t completely gone 🙁

DIY Carpet Cleaning | From Drab to Shag {A Tale of the Dirtiest of Carpets} | Flip This Rental DIY Carpet Cleaning | From Drab to Shag {A Tale of the Dirtiest of Carpets} | Flip This Rental

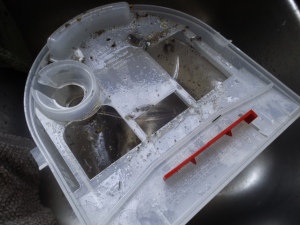
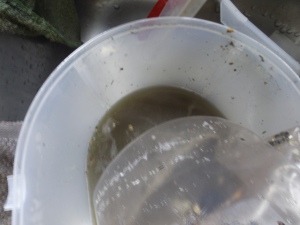
When I first started cleaning the carpets I didn’t really see a huge difference in most of the spots. That is until I dumped the first bucket of dirty water. Ho-ly COW. I am shocked at how disgusting that water was, and there was sediment along the bottom of the bucket too. I even vacuumed before I started. My hypothesis is that the carpets don’t look much different because I only cleaned a surface layer of dirt off. There was so much grime that I couldn’t get deep into the fibers of my carpet. The areas I cleaned the first day took 3 or 4 gallons of water with about 2oz of cleaner for each gallon.

DIY Carpet Cleaning | From Drab to Shag {A Tale of the Dirtiest of Carpets} | Flip This Rental DIY Carpet Cleaning | From Drab to Shag {A Tale of the Dirtiest of Carpets} | Flip This Rental

The cleaner I used is Bissell Febreze Oxy Carpet Cleaner in the Hawaiin Aloha scent. I didn’t buy this product I borrowed it along with the carpet cleaner. The hyperlink goes to Walmart if you want more information on the product. Even though I couldn’t see too much of a difference on most spots on my carpet I definitely noticed a difference on how it felt when I was walking around on it. The carpet was kind of scratchy and grimy feeling before. Now it feels soft and my feet don’t pick up dirt as I’m walking around. Even right after I vacuumed my feet would still pick up pieces of dirt.

DIY Carpet Cleaning | From Drab to Shag {A Tale of the Dirtiest of Carpets} | Flip This Rental DIY Carpet Cleaning | From Drab to Shag {A Tale of the Dirtiest of Carpets} | Flip This Rental

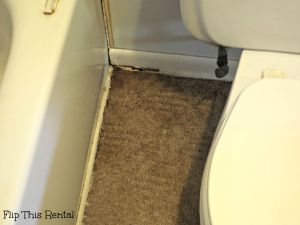
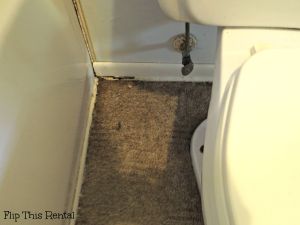
Above is the one spot in my house that I avoid touching at ALL COSTS. You can see that it is between the shower and the toilet which to begin with means there will be water. Then you add on that this is also the spot where we keep the plunger and toilet bowl cleaner. AND ITS CARPETED. Pretty please don’t barf all over your computer or phone or whatever else at the thought of how gross that is.

I used the attachment on the carpet cleaner to get into this corner and I think it did a pretty decent job of getting a lot of the grime out. I think the edges along the wall and bathtub are stained that way for the rest of the carpet’s life. Originally, I wasn’t planning on cleaning the bathroom carpets since we will be tearing it out soon and replacing it with vinyl planks. If you haven’t heard about that yet check it out here. However, I don’t know when we will be replacing the floor and just in case it doesn’t happen for a while it would be nice to have clean carpets in the mean time.

  DIY Carpet Cleaning | From Drab to Shag {A Tale of the Dirtiest of Carpets} | Flip This RentalDIY Carpet Cleaning | From Drab to Shag {A Tale of the Dirtiest of Carpets} | Flip This Rental

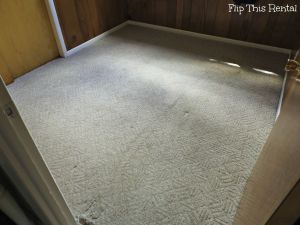
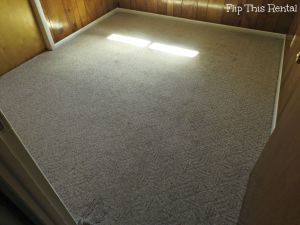
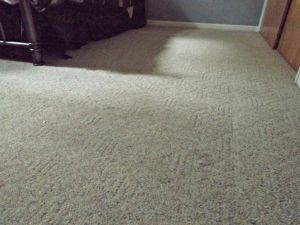
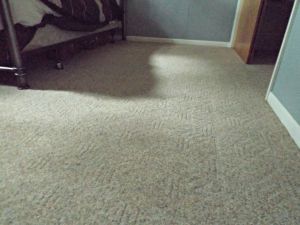
Little T’s bedroom before and after. Again, not much of a difference but you can see in the middle of the room on the left there was a dark spot that was removed (not just the lighting I promise :p).

DIY Carpet Cleaning | From Drab to Shag {A Tale of the Dirtiest of Carpets} | Flip This Rental DIY Carpet Cleaning | From Drab to Shag {A Tale of the Dirtiest of Carpets} | Flip This Rental

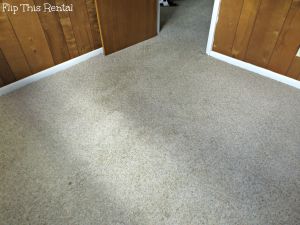
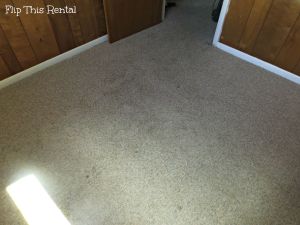
Another angle of T’s bedroom. You can see by the doorway there was a dark spot removed. I’m thinking maybe it wouldn’t have hurt to go over the spots more than once and use more water but I didn’t want the floors to be really wet and have to wait forever to put furniture back.

 DIY Carpet Cleaning | Bedroom BeforeDIY Carpet Cleaning | Bedroom After

At first glance in these pictures the room doesn’t look much different, but if you pay closer attention it almost looks like the carpet is yellowy in the first picture. I’m thinking that is actually due to the carpet cleaning since I edited both these photos the same and they weren’t taken very far apart. It looked cleaner in person anyway.

DIY Carpet Cleaning | Closet Side Before DIY Carpet Cleaning | Closet Side After

You can see in these pictures along the indent in the carpet a stain was removed. You can also see in these pictures how I got lazy and didn’t move all of the furniture. I would have if I had help but I was on a time crunch since I was moving out to my college apartment that night.

DIY Carpet Cleaning | Dresser Side Before DIY Carpet Cleaning | Dresser Side After

Again I think the carpet looks brighter in the after picture 🙂

DIY Carpet Cleaning | LR Angle 4 Before DIY Carpet Cleaning | LR Angle 4 After

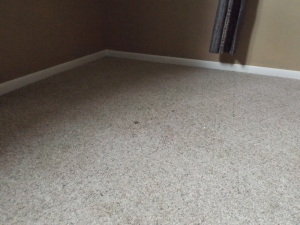
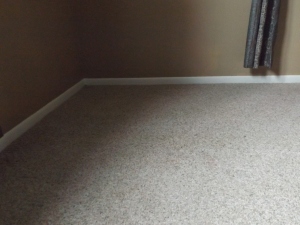
The corner of the living room is much cleaner! The little black spot in the center was removed and the coloring of the carpet looks much more even.

DIY Carpet Cleaning | LR Angle 2 BeforeDIY Carpet Cleaning | LR Angle 2 After

Mostly in this picture it looks like it got worse but on the right hand side you can see it l looks more even. I honestly don’t know it looks worse in some parts???

DIY Carpet Cleaning | LR Angle 3 Before DIY Carpet Cleaning | LR Angle 3 After

From this angle you can definitely tell the carpet cleaner worked i’t’s magic. Right below the shadow of the couch on the left you can see a dirty yellowy area that I completely removed.

Well that’s the entire house! Add some furniture and you have a house tour 😉 Don’t worry I have one of those in the works. I almost felt silly at times writing this post because I knew what a difference the cleaning was making, but it just wasn’t showing up how I wanted in the pictures. Have you ever had a project that you felt great about but it just wasn’t translating on the blog scene? I think I also need to improve my picture taking skills so those fine details show through in photos. Let me know what you think!

See You Around!

Lauren <3

Garage Shopping Trip

The other day Chris and I were at his parents and we took a little shopping trip through his dad’s garage. It was a complete success. We ended up with vinyl flooring to do the bathroom and the landing at the top of our entryway stairs. We also got two different sizes of white tile to do the kitchen backsplash. I’m thinking this project will have minimal costs even though we need a few more supplies to get started.

To do the bathroom we need a special glue for the vinyl we got, which Chris’s dad will have soon after he finishes another job. For the landing we need a metal strip that goes where the vinyl and carpet meet. Chris’s dad has a few pieces of it we just need to tell him our measurements so he can cut it. To do the tile we just need to get grout and mortar. I already have some leftover mortar from my mom (not sure how much we need), and Chris’s dad might have grout.

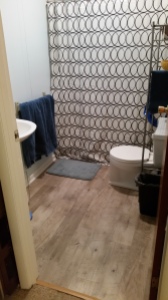
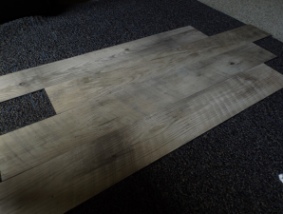
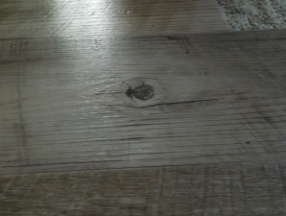
The bathroom floor is made by Mannington and is a type of luxury vinyl called Adura. Our specific floor is called Dockside Sea Shell. I love how much it looks like real wood and it’s easier to take care of than laminate wood floors. I’m thinking it will be easier to install too. In the pictures you can see that it actually has a texture to it. There might even be enough of this to do the kitchen too. Yet another great reason to paint the kitchen cabinets white because the yellowy wood of the cabinets would not look good with this gray wood look.

Garage Shopping Trip Garage Shopping Trip

The other vinyl we got is not nearly as cool, but it is still a nice looking wood vinyl. I wish there was enough to do all of the stairs but that’s unlikely. On the bright side my cat seems to like the new floors 😉

Garage Shopping Trip

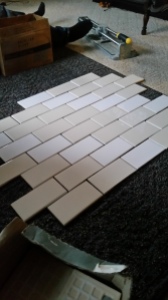
When I got home I realized the tiles are actually two different colors. Uh oh. I played around with them a little bit and came up with a pattern that I think will work. The problem is they don’t quite fit, but we can always trim a little bit off the top tile.

Garage Shopping Trip

We already have the approval to put the vinyl down in the bathroom. Not sure if Chris is going to ask about the stairs landing or the backsplash, but we’ll see how it turns out. Even if he decides to ask permission I think hope these projects are a no brainer.

See You Around!

Lauren <3