A project I am currently working on is prepping walls for backsplash in the kitchen. This means that soon we will have beautiful tile in our kitchen. yeeee.

Here is what the backsplash looked like after spray painting my counters. I knew I would be tearing off the laminate backsplash and replacing it with tile eventually, so I didn’t bother avoiding overspray. It seems likes I’ve lived with this ombre look for ages now.
One night I just decided to start ripping tell Chris to start ripping.
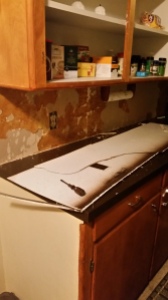
I unscrewed the outlet covers, and Chris pried away. This section came off in a couple pieces then I had to peel off some of the paper glue backing (the orangey yellow stuff)
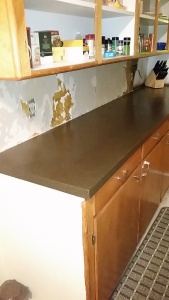
I tried to get most of the excess backing off to try to help get the wall a little flatter but I didn’t worry about it too much since I also put joint compound on it to smooth it out even better. This was way easier than peeling and sanding until my brain went dead.
Before I applied the joint compound I used a box cutter to cut away all the caulk from the counter.
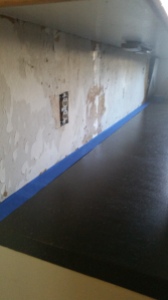
First I taped off the counter as well as where the backsplash and painted wall met because these surfaces are already the way I want them.
To apply the joint compound I used a putty knife and went to town. I tried applying thin layers and only using what I needed to even everything out, but still have everything coated.
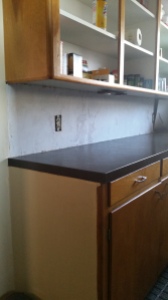
Here’s what the wall looks like after the new layer. Once the compound dried I sanded it lightly to get rid of any ridges. You can kind of see the ridges in the photo below.
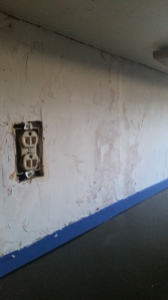
You might have noticed in the pictures in the right hand side there is a broken piece of backsplash hanging out. Behind it there isn’t any wall there and it is an access to the outside water spigot. We figure we don’t need it so we will be putting a board up there and patching the hole up. I’ll explain in detail that process when I post about the actual tile job.
Here is the other section of the backsplash which was done at a different time. Chris also had to pull out a piece of the window trim in order to get the laminate out.
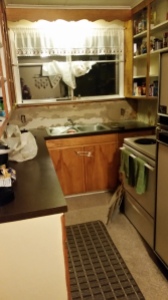
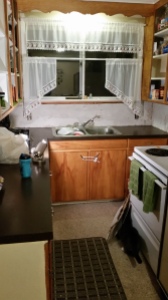
It’s amazing how much cleaner and brighter it all looks. I don’t even mind the unfinished look because at least I’m making progress and it will be gorgeous soon enough.
I came up with a unique way to get a beautiful design with the free tile we were given. I’d love to share it now but instead I think I’ll make you wait until next week. 😉
See you around!
Lauren <3
Click here to see how I tiled the backsplash.

Can’t wait to see it!