I am so excited to finally have this project done. I’ve been waiting at least a couple of months to put the new bathroom floor in, and we finally had time to do it! On Halloween weekend nonetheless, but it was worth it 😀
As you may know if you’ve been following along, we got free Mannington Adura floors from Chris’s dad who installs floors for a living and had leftovers from a job! This stuff is awesome. I can already tell it’s going to be really durable, and it’s absolutely gorgeous. The style and color is called Dockside Seashell. This whole name confused me when we first got it, but I’ll break it down. Mannington is the brand, Adura is a type of “luxury vinyl”, Dockside is the style/grain on the wood, and Seashell is the gray color.
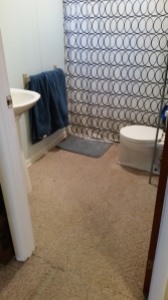
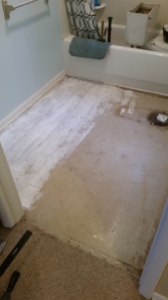
Just a reminder, above is what my bathroom looked like before in all its carpeted glory.
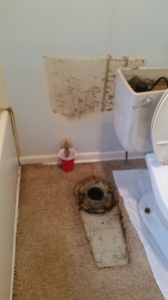
Here is what we found when we moved the toilet. A nasty wax ring, and a nasty unpainted wall! woo. I honestly wasn’t surprised one bit. Grossed out? Yes. Surprised? No.
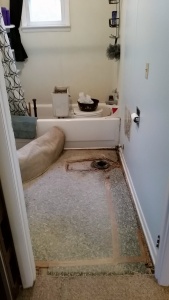
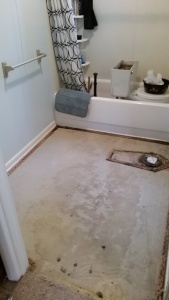
The next step was removing the carpet, and the layer underneath. Luckily the floor that was under the carpet was in good shape and we didn’t have to remove it all the way down to the concrete.
Next we pulled the tack strips up, swept and cleaned the floor thoroughly before we laid the glue down.
To lay the glue down we started with just one side of the room so it was easier to work. There are instructions that come with the glue but basically you just dump some glue on the floor and use a trowel to spread it around. Then you put a fan on it and wait until it gets tacky or until it is mostly clear. You want to be able to adjust the pieces a little bit, but not enough for them to slide around on you while you work.
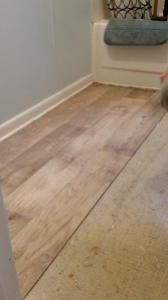
To start the floor we put a full size board in the top left corner. Then we cut a board to fit in the space below. The remaining piece from the second board is then put at the top in the next row. Just keep alternating like this and you will get a floor with a good pattern. This is what the professional told us to do, I wouldn’t make this stuff up! 😛
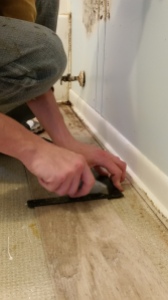
To cut the boards we just used a square and a box knife. In some cases we had to measure the length of the board we needed, but most of the time it was easier to put the board next to where it needed to be laid and make a mark with the knife of where to cut. Generally the boards just need to be scored with the knife, and you can snap it.
Above is where we stopped before laying more glue. Once the rest of the floor was ready to be done Chris sat on the boards we already put in place, and cut the boards on top of a cardboard box.
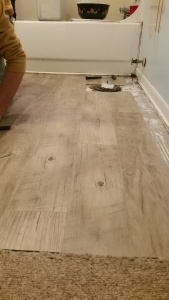
When we got to this point Chris had to measure how wide of a piece he needed and cut the boards long way. This was pretty difficult using the square, but I imagine there is an easier way to do it so the cut is even the whole way down. We had a little bit of a struggle, but overall it ended up fine.
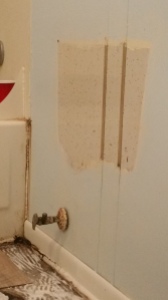
After the floor was all down there were still a few things I wanted to fix before putting everything back together. One of the things was painting this wall! I couldn’t put the toilet back knowing that this monstrosity was behind it. It just wouldn’t feel like a complete reno. Also notice the rotted out trim in the corner.. we’ll get to that in a bit 😉
The first thing I did was wipe the nastiness off the wall with a hot rag.
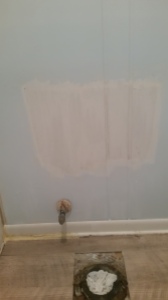
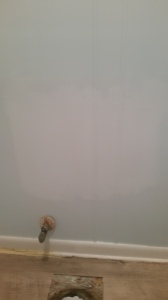
Then I sanded the wall so the paint was able to stick well, primed it, and then painted it!
Notice the rotted trim looks different? I used Durham’s Rock Hard Water Putty to fill in the holes and prevent the wood from rotting further. It is a powdered material, and you just add water to activate it. Mix it up and apply it to the surface. I just used my hands since that seemed easiest. This stuff is moldable, sandable, and paintable. And since it comes in powdered form you don’t have to worry about it setting up in the container. It’s super cheap too and I already have other plans for it around the house 😀 I think this is my new favorite home improvement product.
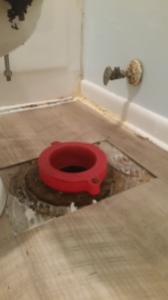
The other thing we did was get rid of the yucky wax seal, and instead of replacing it with another wax seal we opted for a universal reusable seal. It was like $7, and is somewhat adjustable. The whole thing was too tall so we just removed a layer of the spongy stuff in the middle.
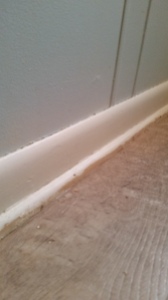
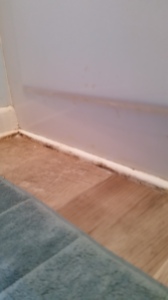
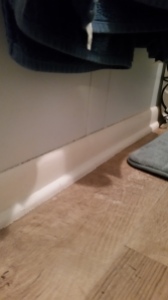
The last thing I decided to do was quickly go over the trim with a coat of paint. I’ve painted the bathroom trim before, but now the floor height is lower and some ugly areas were uncovered. As usual I sanded and wiped it down first.
The trim looks as fresh as it’s good ole pal the floor. 😉
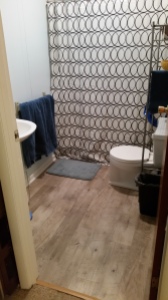
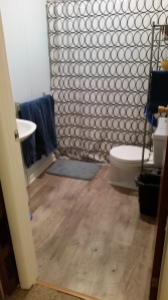
Now are you ready for the finished product??? are you sure?? okay, here it is!! 😀
It’s everything I dreamed and more. No joke. I feel like it just makes the space feel so much bigger, brighter, and lighter. It’s amazing.
The bathroom has come such a long way since we moved in and I think it’s becoming one of my favorite spots in the house if it wasn’t already. I can’t wait to show the landlords the results.
Next my plans are to re caulk the shower, and paint the new trim piece between the carpet and the vinyl. I also need to look into cosmetic fixes for the shower surround.
Here’s a side by side just as a reminder 🙂
Do you love it too? Do you feel like you could tackle a similar project after reading this post? What’s your favorite flooring?
See You Around!
Lauren <3

I think it looks great!! It looks way better than the carpeting.
Thanks so much! I agree 😀
Woohoo! It’s everything I would want! Looks awesome. We are desperately in need of new flooring throughout or home but, price is holding it up. I’m always looking for deals, deals, deals 😀
Thank you! If you have a Habitat for Humanity ReStore near you maybe check that out. They have new and gently used home improvement items. It might not be enough to do your whole house, but you might be able to find a rooms worth of materials. We are extremely lucky that Chris’s dad has lots of leftovers 🙂 good luck!
We do have a Habitat Restore and I love it! I wish I could go every day because the flooring remnants go fast.
It looks great. Actually we did a similar project — https://charlieandjo.wordpress.com/2012/09/04/floating-floor-finished/ — which gave us encouragement to do other, more difficult projects. Jo @ Let’s Face the Music
Thanks, Jo! I love laminate floors. My mom has it almost throughout her whole house. I think I would be more intimidated by that than vinyl. Maybe someday we can muster up the resources cheaply to replace the carpet. It’s a long shot though. Thanks for stopping by 🙂