DIY Plank Vinyl Floor – Bathroom Update

I am so excited to finally have this project done. I’ve been waiting at least a couple of months to put the new bathroom floor in, and we finally had time to do it! On Halloween weekend nonetheless, but it was worth it 😀

As you may know if you’ve been following along, we got free Mannington Adura floors from Chris’s dad who installs floors for a living and had leftovers from a job! This stuff is awesome. I can already tell it’s going to be really durable, and it’s absolutely gorgeous. The style and color is called Dockside Seashell. This whole name confused me when we first got it, but I’ll break it down. Mannington is the brand, Adura is a type of “luxury vinyl”, Dockside is the style/grain on the wood, and Seashell is the gray color.

DIY Plank Vinyl Floor - Bathroom Update

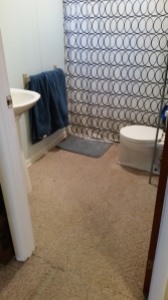
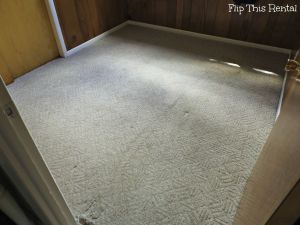
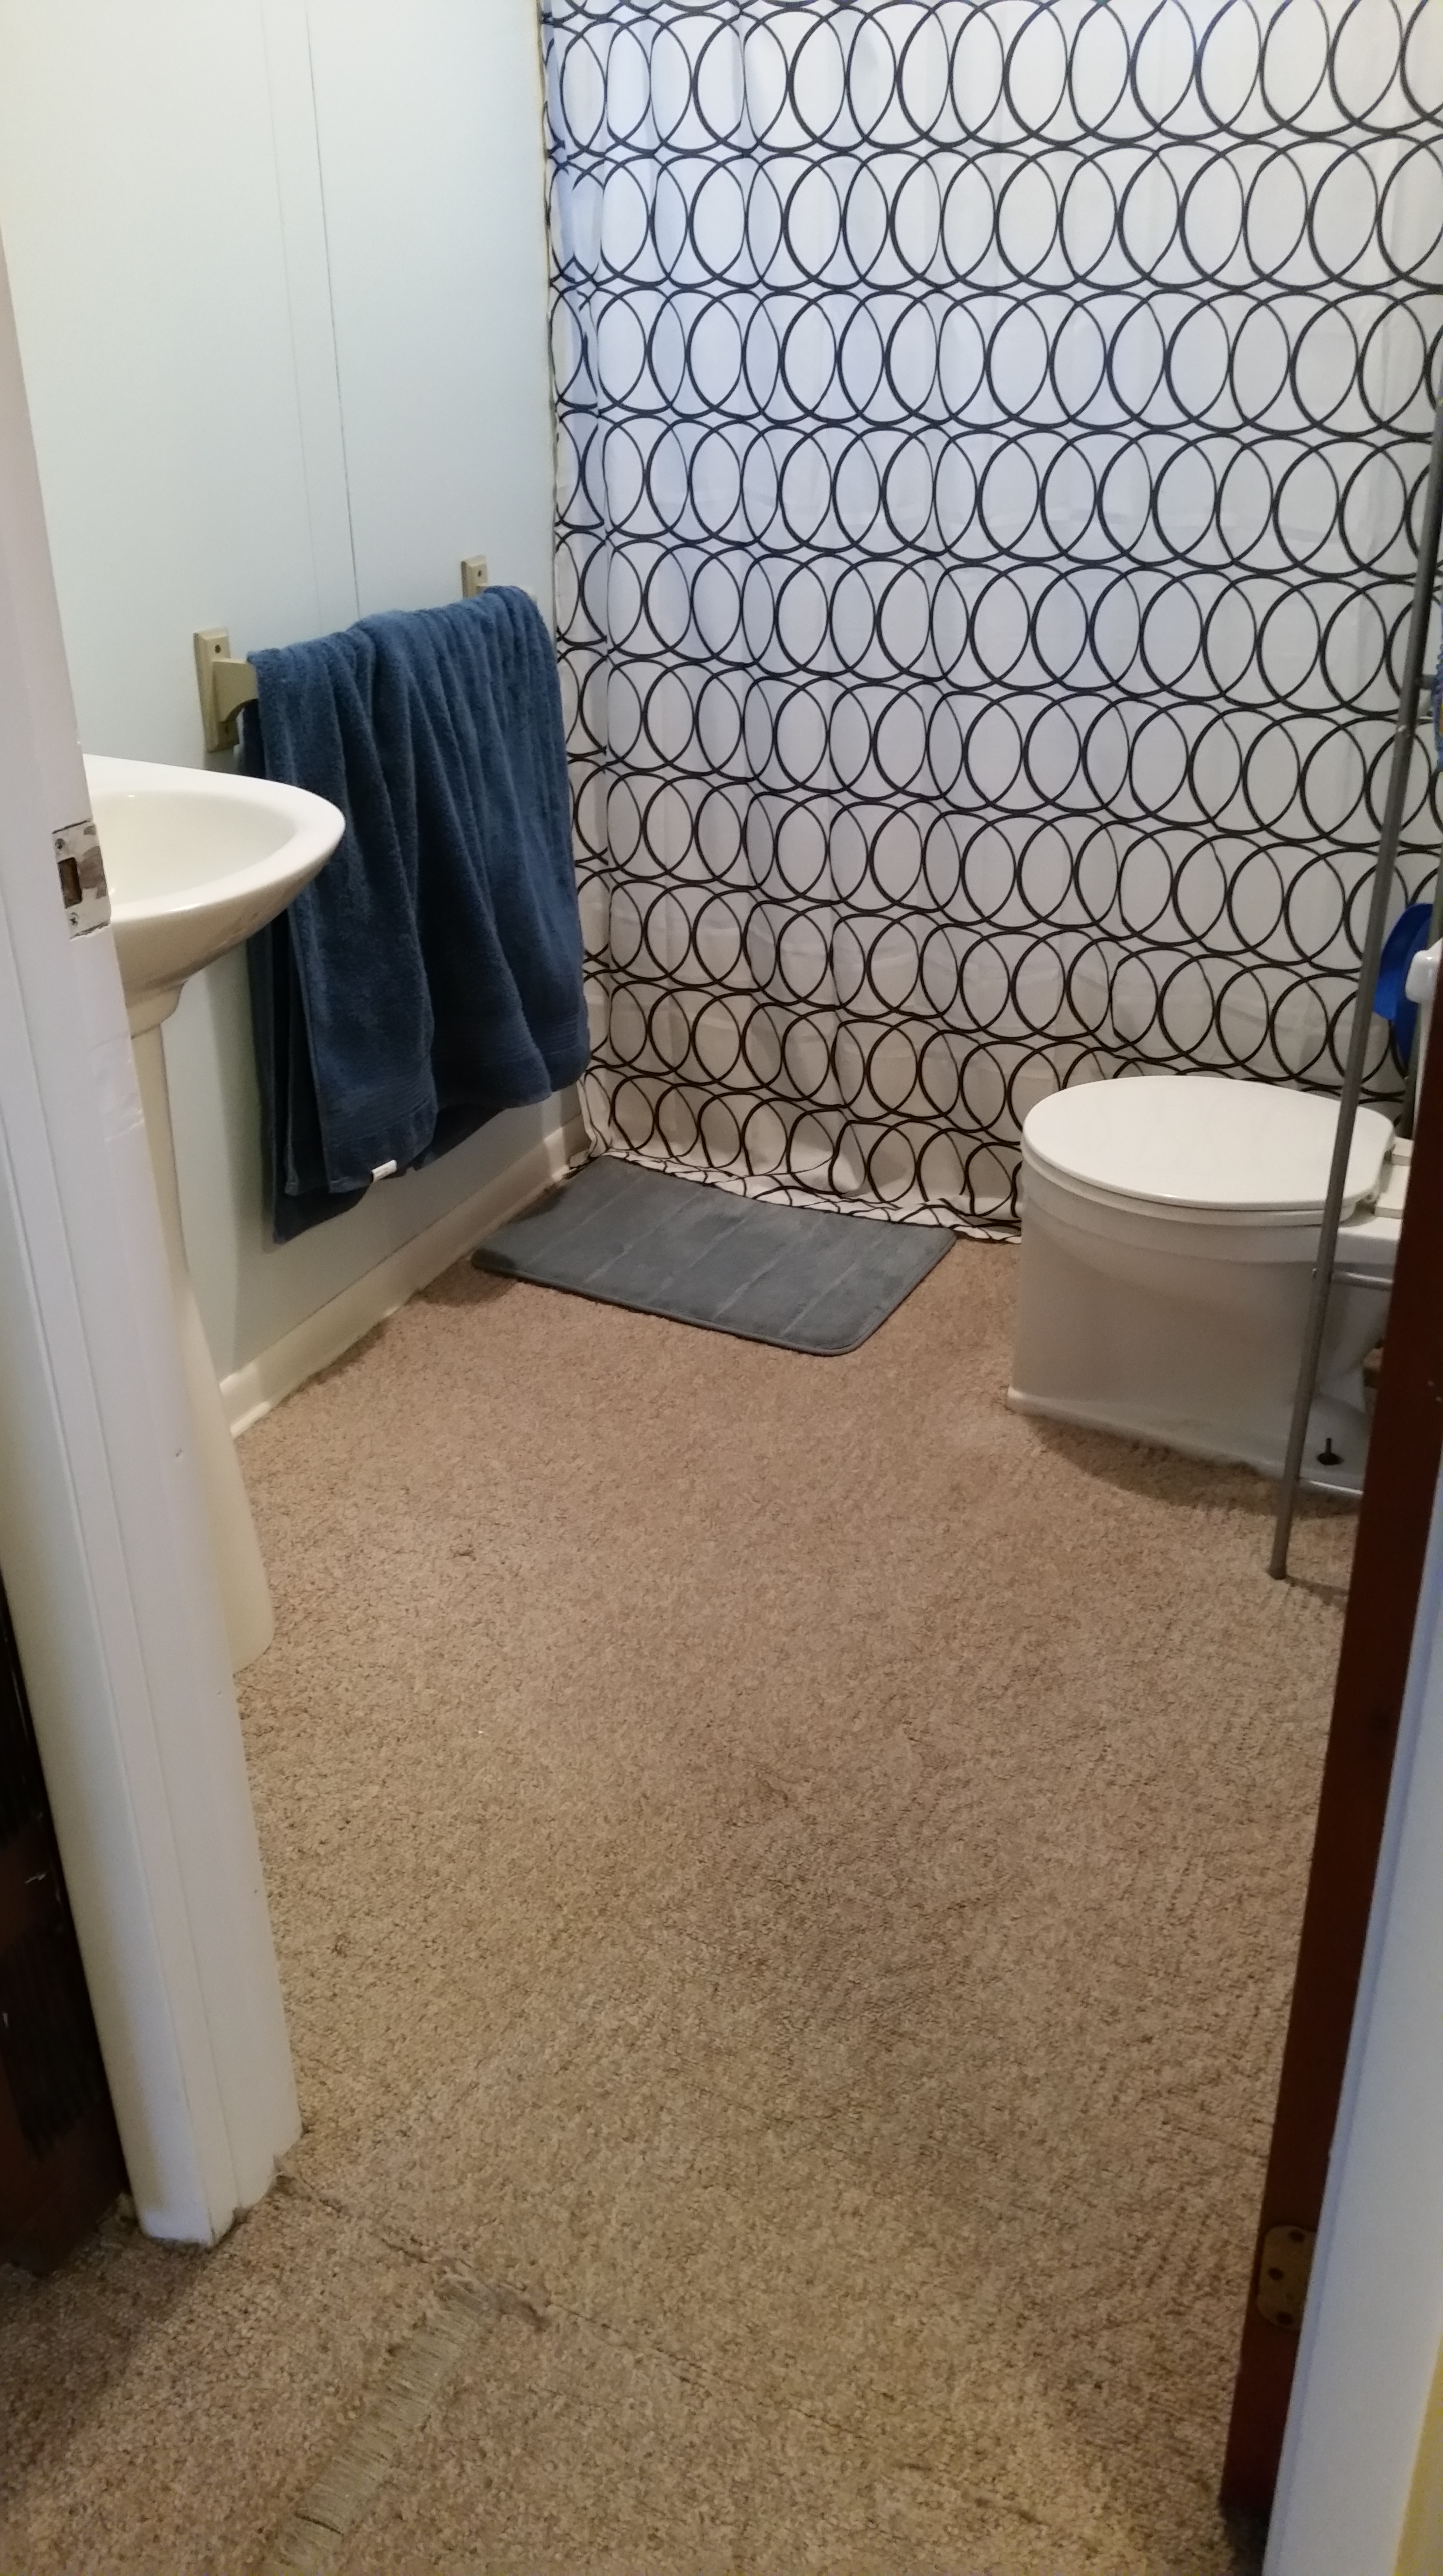
Just a reminder, above is what my bathroom looked like before in all its carpeted glory.

DIY Plank Vinyl Floor - Bathroom Update

Here is what we found when we moved the toilet. A nasty wax ring, and a nasty unpainted wall! woo. I honestly wasn’t surprised one bit. Grossed out? Yes. Surprised? No.

 DIY Plank Vinyl Floor - Bathroom UpdateDIY Plank Vinyl Floor - Bathroom Update

The next step was removing the carpet, and the layer underneath. Luckily the floor that was under the carpet was in good shape and we didn’t have to remove it all the way down to the concrete.

Next we pulled the tack strips up, swept and cleaned the floor thoroughly before we laid the glue down.

DIY Plank Vinyl Floor - Bathroom Update

To lay the glue down we started with just one side of the room so it was easier to work. There are instructions that come with the glue but basically you just dump some glue on the floor and use a trowel to spread it around. Then you put a fan on it and wait until it gets tacky or until it is mostly clear. You want to be able to adjust the pieces a little bit, but not enough for them to slide around on you while you work.

To start the floor we put a full size board in the top left corner. Then we cut a board to fit in the space below. The remaining piece from the second board is then put at the top in the next row. Just keep alternating like this and you will get a floor with a good pattern. This is what the professional told us to do, I wouldn’t make this stuff up! 😛

DIY Plank Vinyl Floor - Bathroom Update

To cut the boards we just used a square and a box knife. In some cases we had to measure the length of the board we needed, but most of the time it was easier to put the board next to where it needed to be laid and make a mark with the knife of where to cut. Generally the boards just need to be scored with the knife, and you can snap it.

DIY Plank Vinyl Floor - Bathroom Update

Above is where we stopped before laying more glue. Once the rest of the floor was ready to be done Chris sat on the boards we already put in place, and cut the boards on top of a cardboard box.

DIY Plank Vinyl Floor - Bathroom Update

When we got to this point Chris had to measure how wide of a piece he needed and cut the boards long way. This was pretty difficult using the square, but I imagine there is an easier way to do it so the cut is even the whole way down. We had a little bit of a struggle, but overall it ended up fine.

DIY Plank Vinyl Floor - Bathroom Update

After the floor was all down there were still a few things I wanted to fix before putting everything back together. One of the things was painting this wall! I couldn’t put the toilet back knowing that this monstrosity was behind it. It just wouldn’t feel like a complete reno. Also notice the rotted out trim in the corner.. we’ll get to that in a bit 😉

The first thing I did was wipe the nastiness off the wall with a hot rag.

DIY Plank Vinyl Floor - Bathroom Update DIY Plank Vinyl Floor - Bathroom Update

Then I sanded the wall so the paint was able to stick well, primed it, and then painted it!

Notice the rotted trim looks different? I used Durham’s Rock Hard Water Putty to fill in the holes and prevent the wood from rotting further. It is a powdered material, and you just add water to activate it. Mix it up and apply it to the surface. I just used my hands since that seemed easiest. This stuff is moldable, sandable, and paintable. And since it comes in powdered form you don’t have to worry about it setting up in the container. It’s super cheap too and I already have other plans for it around the house 😀 I think this is my new favorite home improvement product.

DIY Plank Vinyl Floor - Bathroom Update

The other thing we did was get rid of the yucky wax seal, and instead of replacing it with another wax seal we opted for a universal reusable seal. It was like $7, and is somewhat adjustable. The whole thing was too tall so we just removed a layer of the spongy stuff in the middle.

DIY Plank Vinyl Floor - Bathroom Update DIY Plank Vinyl Floor - Bathroom Update

The last thing I decided to do was quickly go over the trim with a coat of paint. I’ve painted the bathroom trim before, but now the floor height is lower and some ugly areas were uncovered. As usual I sanded and wiped it down first.

DIY Plank Vinyl Floor - Bathroom Update

The trim looks as fresh as it’s good ole pal the floor. 😉

Now are you ready for the finished product??? are you sure?? okay, here it is!! 😀

DIY Plank Vinyl Floor - Bathroom Update

It’s everything I dreamed and more. No joke. I feel like it just makes the space feel so much bigger, brighter, and lighter. It’s amazing.

The bathroom has come such a long way since we moved in and I think it’s becoming one of my favorite spots in the house if it wasn’t already. I can’t wait to show the landlords the results.

Next my plans are to re caulk the shower, and paint the new trim piece between the carpet and the vinyl. I also need to look into cosmetic fixes for the shower surround.

DIY Plank Vinyl Floor - Bathroom Update DIY Plank Vinyl Floor - Bathroom Update

Here’s a side by side just as a reminder 🙂

Do you love it too? Do you feel like you could tackle a similar project after reading this post? What’s your favorite flooring?

See You Around!

Lauren <3

DIY Carpet Cleaning – From Drab to Shag {A Tale of the Dirtiest of Carpets}

Can I use shag to describe my newly cleaned carpets even though I do not in fact have shag carpet? I think so. Moving on. Cleaning my carpets is something I put on my to-do list for this month and in reality it has been on my wish list for a LONG time. I put it on an official to-do list because I’ve waited long enough and school is starting very soon. I don’t own a carpet cleaner so I had to borrow one from a family member. This is one of the reasons I had to wait so long.

I cleaned my carpets on a few different days. The first day I did my entryway/stairs, kitchen, dining room, and bathroom. The second day I did the second bedroom, and the last day I did the living room and master bedroom. These days totally were not consecutive. Whoops.

DIY Carpet Cleaning | From Drab to Shag {A Tale of the Dirtiest of Carpets} | Flip This Rental DIY Carpet Cleaning | From Drab to Shag {A Tale of the Dirtiest of Carpets} | Flip This Rental

Even though the lighting is different in these photos you can still see how much smaller and less noticeable the stain is. This was probably the dirtiest area in our whole house. Below is a view of the dining room from the living room. I might do this area again in the future because the nastiness isn’t completely gone 🙁

DIY Carpet Cleaning | From Drab to Shag {A Tale of the Dirtiest of Carpets} | Flip This Rental DIY Carpet Cleaning | From Drab to Shag {A Tale of the Dirtiest of Carpets} | Flip This Rental

When I first started cleaning the carpets I didn’t really see a huge difference in most of the spots. That is until I dumped the first bucket of dirty water. Ho-ly COW. I am shocked at how disgusting that water was, and there was sediment along the bottom of the bucket too. I even vacuumed before I started. My hypothesis is that the carpets don’t look much different because I only cleaned a surface layer of dirt off. There was so much grime that I couldn’t get deep into the fibers of my carpet. The areas I cleaned the first day took 3 or 4 gallons of water with about 2oz of cleaner for each gallon.

DIY Carpet Cleaning | From Drab to Shag {A Tale of the Dirtiest of Carpets} | Flip This Rental DIY Carpet Cleaning | From Drab to Shag {A Tale of the Dirtiest of Carpets} | Flip This Rental

The cleaner I used is Bissell Febreze Oxy Carpet Cleaner in the Hawaiin Aloha scent. I didn’t buy this product I borrowed it along with the carpet cleaner. The hyperlink goes to Walmart if you want more information on the product. Even though I couldn’t see too much of a difference on most spots on my carpet I definitely noticed a difference on how it felt when I was walking around on it. The carpet was kind of scratchy and grimy feeling before. Now it feels soft and my feet don’t pick up dirt as I’m walking around. Even right after I vacuumed my feet would still pick up pieces of dirt.

DIY Carpet Cleaning | From Drab to Shag {A Tale of the Dirtiest of Carpets} | Flip This Rental DIY Carpet Cleaning | From Drab to Shag {A Tale of the Dirtiest of Carpets} | Flip This Rental

Above is the one spot in my house that I avoid touching at ALL COSTS. You can see that it is between the shower and the toilet which to begin with means there will be water. Then you add on that this is also the spot where we keep the plunger and toilet bowl cleaner. AND ITS CARPETED. Pretty please don’t barf all over your computer or phone or whatever else at the thought of how gross that is.

I used the attachment on the carpet cleaner to get into this corner and I think it did a pretty decent job of getting a lot of the grime out. I think the edges along the wall and bathtub are stained that way for the rest of the carpet’s life. Originally, I wasn’t planning on cleaning the bathroom carpets since we will be tearing it out soon and replacing it with vinyl planks. If you haven’t heard about that yet check it out here. However, I don’t know when we will be replacing the floor and just in case it doesn’t happen for a while it would be nice to have clean carpets in the mean time.

  DIY Carpet Cleaning | From Drab to Shag {A Tale of the Dirtiest of Carpets} | Flip This RentalDIY Carpet Cleaning | From Drab to Shag {A Tale of the Dirtiest of Carpets} | Flip This Rental

Little T’s bedroom before and after. Again, not much of a difference but you can see in the middle of the room on the left there was a dark spot that was removed (not just the lighting I promise :p).

DIY Carpet Cleaning | From Drab to Shag {A Tale of the Dirtiest of Carpets} | Flip This Rental DIY Carpet Cleaning | From Drab to Shag {A Tale of the Dirtiest of Carpets} | Flip This Rental

Another angle of T’s bedroom. You can see by the doorway there was a dark spot removed. I’m thinking maybe it wouldn’t have hurt to go over the spots more than once and use more water but I didn’t want the floors to be really wet and have to wait forever to put furniture back.

 DIY Carpet Cleaning | Bedroom BeforeDIY Carpet Cleaning | Bedroom After

At first glance in these pictures the room doesn’t look much different, but if you pay closer attention it almost looks like the carpet is yellowy in the first picture. I’m thinking that is actually due to the carpet cleaning since I edited both these photos the same and they weren’t taken very far apart. It looked cleaner in person anyway.

DIY Carpet Cleaning | Closet Side Before DIY Carpet Cleaning | Closet Side After

You can see in these pictures along the indent in the carpet a stain was removed. You can also see in these pictures how I got lazy and didn’t move all of the furniture. I would have if I had help but I was on a time crunch since I was moving out to my college apartment that night.

DIY Carpet Cleaning | Dresser Side Before DIY Carpet Cleaning | Dresser Side After

Again I think the carpet looks brighter in the after picture 🙂

DIY Carpet Cleaning | LR Angle 4 Before DIY Carpet Cleaning | LR Angle 4 After

The corner of the living room is much cleaner! The little black spot in the center was removed and the coloring of the carpet looks much more even.

DIY Carpet Cleaning | LR Angle 2 BeforeDIY Carpet Cleaning | LR Angle 2 After

Mostly in this picture it looks like it got worse but on the right hand side you can see it l looks more even. I honestly don’t know it looks worse in some parts???

DIY Carpet Cleaning | LR Angle 3 Before DIY Carpet Cleaning | LR Angle 3 After

From this angle you can definitely tell the carpet cleaner worked i’t’s magic. Right below the shadow of the couch on the left you can see a dirty yellowy area that I completely removed.

Well that’s the entire house! Add some furniture and you have a house tour 😉 Don’t worry I have one of those in the works. I almost felt silly at times writing this post because I knew what a difference the cleaning was making, but it just wasn’t showing up how I wanted in the pictures. Have you ever had a project that you felt great about but it just wasn’t translating on the blog scene? I think I also need to improve my picture taking skills so those fine details show through in photos. Let me know what you think!

See You Around!

Lauren <3