Today is the day I share with you our brand new tile backsplash, and the steps it took to install it. Our kitchen is yet another step closer to being awesome, and it almost doesn’t visually suck anymore.
We were very lucky to get most of our materials free. Below are the list of materials you would need. The only things we had to buy are the items I indicated with a price. Clicking the material links will take you to sources of where to purchase/ where I did purchase the items.
Materials:
- Ceramic Tile – Almond 6’x6′ and white 3’x6′
- Grout
- Tile Mastic $18 (for some reason the website is cheaper)
- Joint Compound for repairs $7.57 (but I pawned the leftovers for $6)
- Tile Spacers
- Notch Trowel (also used for our bathroom floor project)
- Grout Sponge -$1.97
- Rubber Grout Float – $3.96
- Tile Cutter
- Tile and Grout Sealer
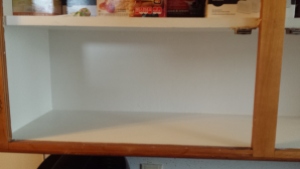
- Wood to patch access hole – Approximately $12 purchased at Home Depot
My Project Cost: $37.50 (Accounting for selling the joint compound leftovers and not accounting for sales tax)
Project Value/Potential Cost: $251.53
NOW. The cost will vary depending on the type of materials you buy, and what tools you already own. I just wanted to see with the almost exact products I used, including their sizes, how much this project could have cost me.
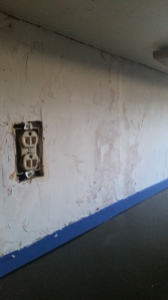
If you missed my post of how I prepped my walls check that out here.
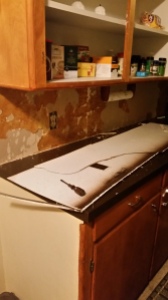
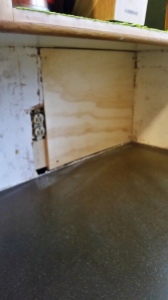
I mentioned I was going to explain how we filled in the hole in our backsplash wall, but I can’t really do that because Chris did it without me. Not complaining, but he didn’t take pictures and he didn’t really explain it to me very well. But, I’m assuming most people don’t have that issue and it’s mostly a case by case thing anyway.
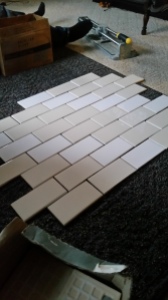
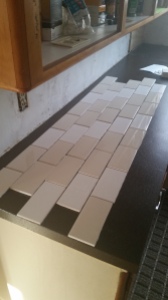
The next thing I did was lay out several tiles in my pattern on the counter. This way after we put the mastic on the wall we wouldn’t have to scramble to get tiles up, and it would help us engrave the pattern into our brain.
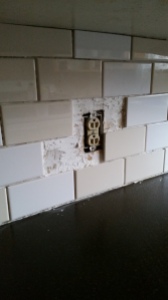
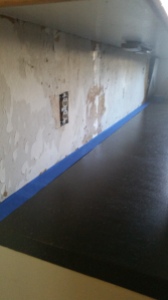
As we went along we used 1/8″ spacers in most places to keep everything even. In some places we didn’t use them because the tile cuts weren’t 100% even so it looked a little weird using a spacer, or the spacer wouldn’t stay put.
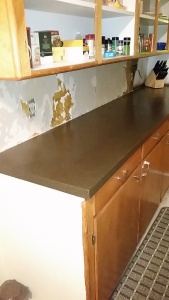
You can see in the picture above that we just tiled around the outlets. This is because we didn’t have the proper tools to make the types of cuts we needed. This can sometimes be avoided by laying out a pattern in a way that doesn’t have weird cuts.
We left all the spots around the outlets without tile, and took tiles to Chris’s brother’s house to have him cut them (since he had the right tools). Afterwards we then reapplied some mastic on the wall and to the tiles.

Here is what the tile looked like from a distance once we put it all up.
Then we let it sit for longer than the recommended amount of time before we grouted. We definitely did not choose the best timing to decide to grout. It was around 11:00 PM when we started. We would’ve done it during the day but Chris had Little T over night and we had to wait until he went to bed. 2 year old boys are not very good at entertaining themselves when house work is going on.
Another problem we ran into was rock hard grout. We had to chisel away at the chunk to get usable grout which ended up having little chunky pieces even after we mixed it with water.
If we had started doing this during the day we would have said screw it and just went to buy a new bag of grout but we were tired, wanted to get it done, and it was so late so nowhere close was open. This made it a pain in the behind to apply, but overall didn’t really hinder the way the grout looked.
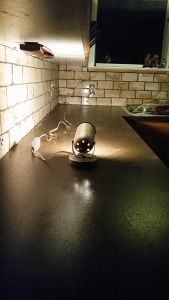
Here’s the grout right after we applied it and before we wiped anything off. Do you like our light strategy? We had to be super quiet because our house only has one heat source and we couldn’t shut Little T’s door all the way because it would get too cold in his room. So instead of turning the kitchen light on and risking waking him up, we just used this and moved it around.
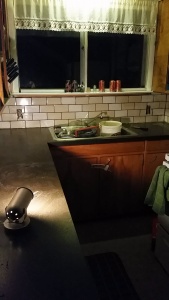
This picture is after I wiped everything down with a damp cloth to clean the grout lines up, but not necessarily to get the tile perfectly clean (I have yet to do that).
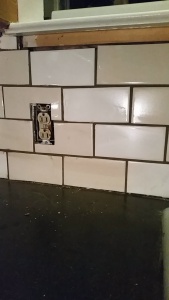
Here is a close up of an area that I got pretty clean.
I really liked the light look of the tile without the grout, and I was a little nervous about what the tile would look like with the dark grout. However, I really like the way it turned out! I think it goes quite nicely with the counter tops and the tile doesn’t stick out as being too modern.
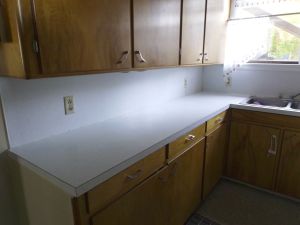
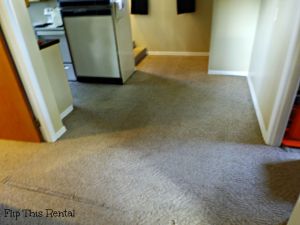
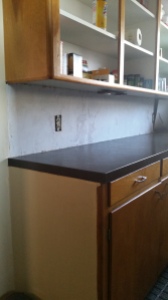
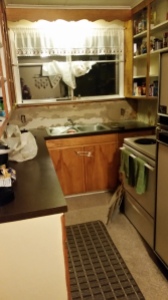
As a reminder that is what the kitchen looked like originally.
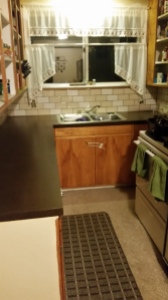
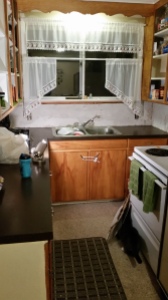
This is what it looks like now. It’s a little discombobulated, but with some new flooring and painted white cabinets it will look prim and proper.
My main suggestion would be to make sure your materials aren’t going to cause you any headache. I’m all about reusing materials so they don’t go to waste but I think I much rather would have bought new grout. Cutting the tiles wasn’t a bad choice, but it was a little nerve wracking that everything wasn’t completely straight as this was my first time doing tile.
The most frustrating part was trying to find the right time to do the project, and I could have benefited from slightly better planning. Overall, I’m satisfied and this was a much needed update.
Have a good holiday, and see you around!
Lauren <3