A while back I added some paint to a dresser, and meanwhile bickered up a storm about the idiot that did such a horrible paint job. Turns out Chris got this dresser from one of his friends, and the truth is he just didn’t care enough about this dresser to take the time to do the job right (sorry not sorry, Mike. It looked like crap).
In phase 1 I added a coat of white paint to the whole thing (minus the wood top) including the insides of the drawers. And we can’t forget about that God awful contact paper I removed. Lastly, I gave the drawer pulls a nice coat of black spray paint.


I also attempted to remove some of the paint from the wood top.

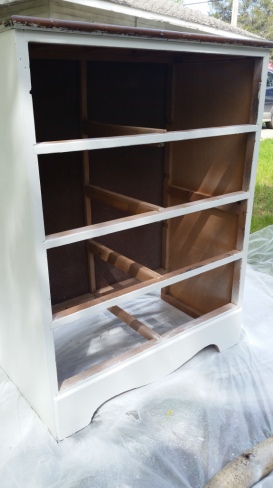
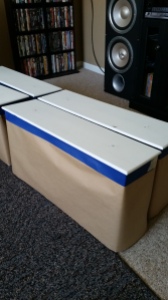
In phase two, this is what I started with.
In this stage, the first thing I did was pull all the drawers out and tape off the top. Then I gave the dresser one last coat of white paint with my Home Right Finish Max HVLP Sprayer.
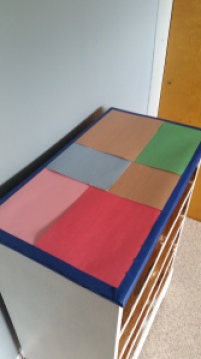
We didn’t have any newspaper, so I used what we had which is colored construction paper.
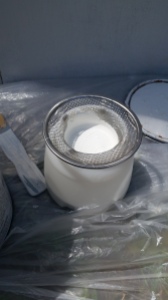
To get everything prepped I made sure to strain my paint since it was leftover from other projects. I bought this sink strainer from Dollar General and it fits perfectly into my sprayer’s container!
Typically paint needs to be thinned to avoid clogging the sprayer. The Home Right Finish Max comes with a viscosity cup, and depending on how quickly the paint runs out that will tell you if it needs to be thinned more. For water based paints it is perfectly okay to thin with water.
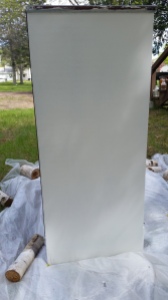
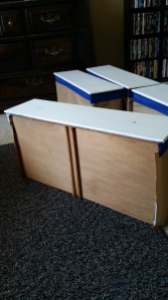
Here’s what she looks like with the fresh coat of white!
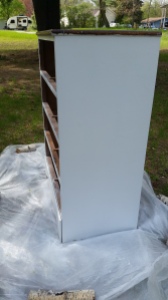
I’m not sure what’s up with the left side of the dresser, but the color looks off compared to the right side. In the before pictures it’s also obvious that it was harder to get good coverage. Not sure why, but now the only difference is the color slightly.
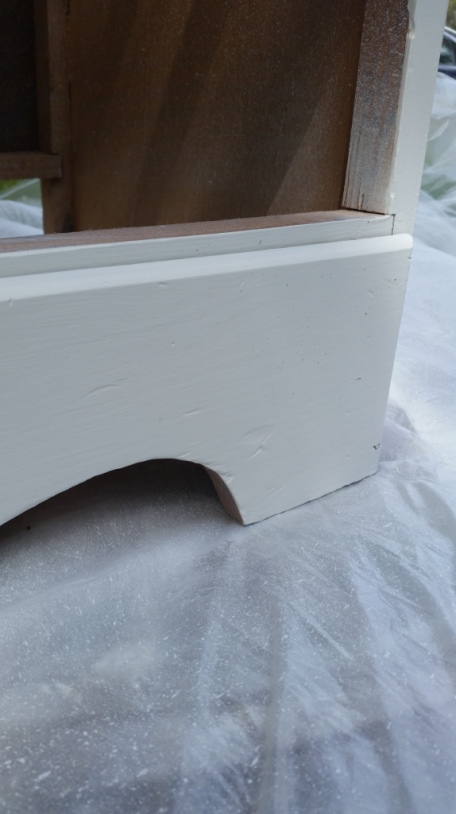
It’s a little hard to see, but in the picture above the wind knocked some dirt into my paint job! I waited until everything dried and just wiped it off with a dry rag. Good as new.
To give this bland dresser some character I painted the drawers with General Finishes Holiday Red Milk Paint. T’s bedroom is (mostly) Avenger themed and I thought this color would go perfectly.
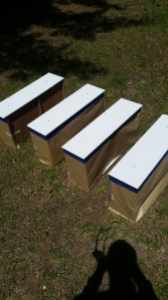
The night before painting these drawers I bought a roll of masking paper and taped the three sides of the drawers I didn’t want painted.
I didn’t tape the bottoms because no one will see the paint on them during general use.
Originally I set the drawers up like the photo below, but when I started spraying nothing came out. The sprayer can be tilted somewhat, but not to this extent.
Instead I used an outdoor table with a drop cloth and set the drawers on top. That worked perfectly, but I should have laid the paper side down. As you can see with the third drawer from the left in the picture above, there is some of the drawer peeping through. This is because the paper wasn’t quite long enough. When I laid the drawers down the paper sunk more and I got overs spray inside the drawers. It will be an easy fix to sand them down a little and go over it with a brush and some white paint, but it could have been avoided.

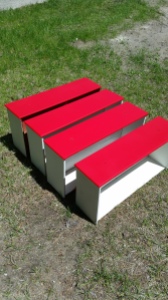
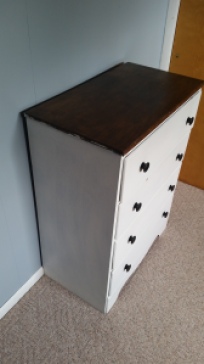
Here are the drawers with their fresh coat of red. I think the picture on the right gives the most accurate representation of what this color looks like in real life.
Next I set out to remove more paint from the edges of the wood top. To do this I taped the painted part off and used a cotton ball with rubbing alcohol. Some areas came right off, and others I just had to scrape a little with my fingernail.

You can see there are only tiny little flecks left.

The front had even more paint, and now there’s none!
Last but not least this baby got a fresh coat of stain on top with some leftover General Finishes water based stain in Brown Mahogany.
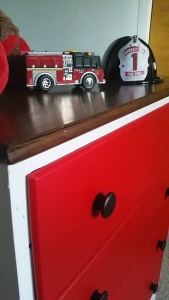
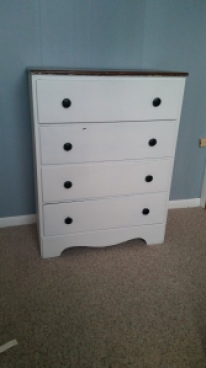
The final product is exactly what I had in mind, and I absolutely love it! Even though his room is (mostly) Avengers themed I had to style the dresser up with some of little T’s firefighter gear. I don’t recall mentioning this on the blog, but Chris is a firefighter 🙂
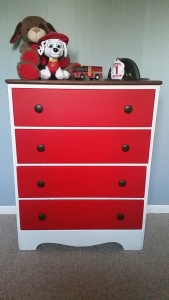
Even though red is a vibrant color I can think of so many styles this dresser could go along with, even in just a kid’s room.
As a side note, this is not a sponsored post in any way. This is the first project I used my Home Right Finish Max for and it worked like a charm. This is also the first time I used General Finishes Milk Paint, and I love it just as much as their other products I have tried (Gel Stain and Topcoat, and Water Based Stain).
What style would you use this dresser with? As always feel free to leave me a question or comment, I would love to hear what you have to say 🙂
See You Around!
Lauren <3
Really good and vibrant improvement. Jo @ Let’s Face the Music
It looks great! xo
Very nice!! I love it!